
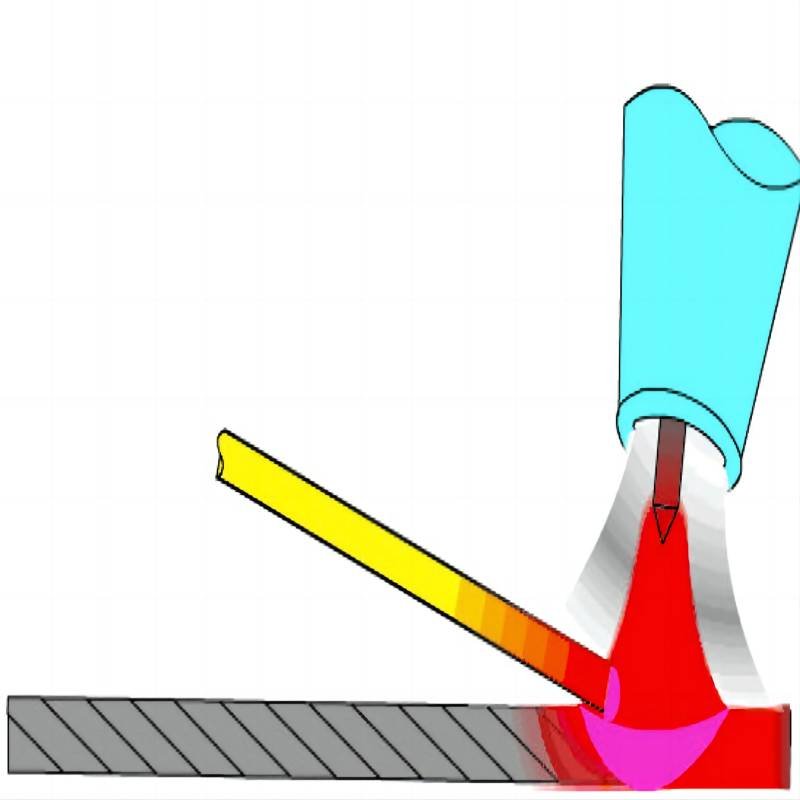



To achieve high-quality results in TIG welding, the following key steps should not be overlooked:
There are three arc initiation methods: scratch start, lift start, and high-frequency start.
Scratch Start: The tungsten electrode is rubbed against the workpiece, and the short-circuit current heats the tungsten, allowing arc ignition when lifting the torch. This method is simple and convenient but may lead to tungsten inclusion and workpiece contamination.
Lift Start: The tungsten electrode briefly contacts the workpiece to create a short circuit with minimal current. Heating the tungsten and then lifting it ignites the arc with a quick switch to the welding current. This method avoids high-frequency interference and reduces tungsten contamination.
High-Frequency Start: A high-frequency, high-voltage generator creates a high voltage between the tungsten electrode and the workpiece, breaking down the air gap and igniting the arc. This widely used method ensures minimal tungsten wear and high-quality arc initiation.

Controlling the shape and size of the molten pool essentially means controlling the welding temperature, which significantly impacts the quality. Temperature imbalances can cause various welding defects.
There are specific requirements and patterns to follow: The angle between the torch axis and the welded surface, known as the torch angle, directly influences heat input, protection, and visibility. Typically, the torch angle should be between 70°-85°. An angle of 90° offers the best protection, but increasing welding speed can lead to inadequate protection of the molten pool.

Holding the torch handle with the thumb and index finger of the right hand, while the other three fingers touch the workpiece for guidance.
Wobble Technique: Pressing the nozzle slightly on the weld seam and moving the arm significantly during welding.
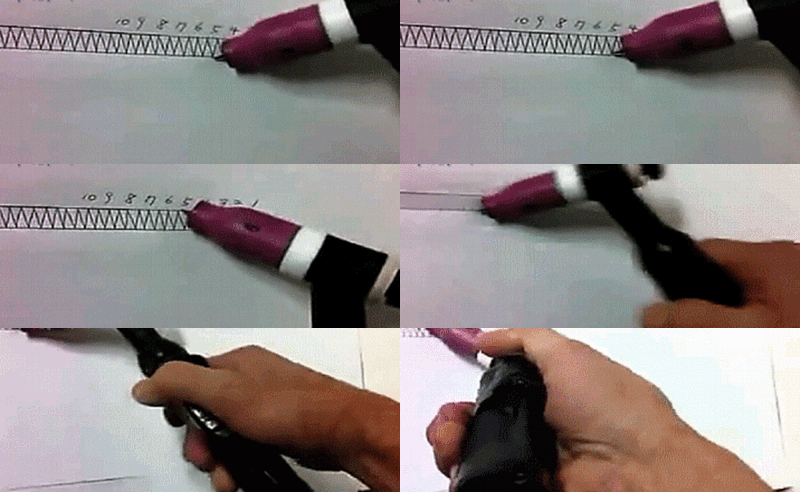
Advantages: Provides stable operation with good seam protection, resulting in high-quality, aesthetically pleasing welds, especially useful for overhead welding and achieving beautiful finishes on stainless steel.
Disadvantages: Difficult learning curve and not suitable for obstructed areas due to the extensive arm movement.
Drag Technique: The nozzle lightly touches or hovers above the weld seam, with minimal arm movement, dragging the torch during welding.
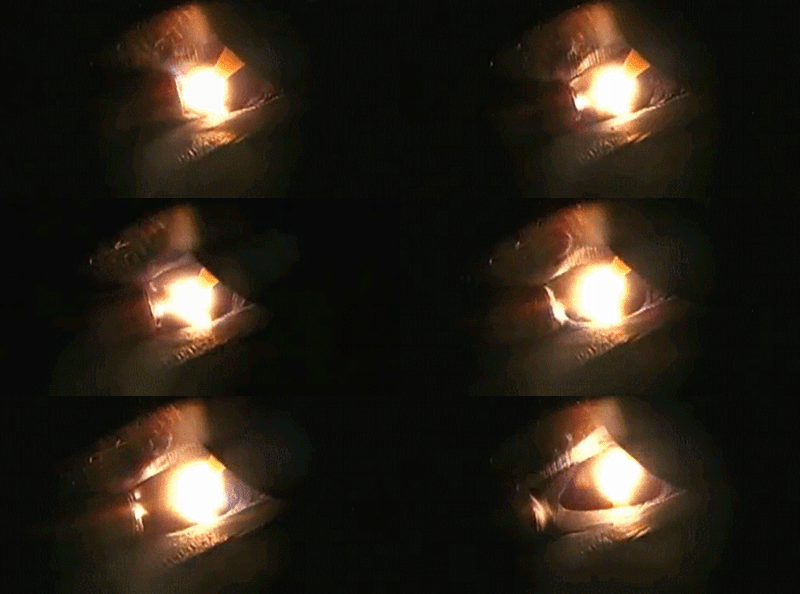
Advantages: Easier to learn and adaptable.
Disadvantages: Inferior in form and quality compared to the wobble technique, especially less convenient for overhead welding and achieving desired finishes on stainless steel.
The middle finger placed above and the ring finger below grip the filler wire, with the thumb and index finger moving the wire forward into the molten pool. Then, by releasing and re-gripping with the thumb and index finger, the wire is continuously fed without interruption. The angle and method of wire feeding, crucial to the weld's geometric shape, depend on the welder's skill level. The wire should be fed at a low angle, generally between 10°-15°, and not exceeding 20°. This ensures the melting end is covered by the shielding gas and avoids contact with the tungsten electrode, shortening the distance the wire transitions into droplets into the molten pool. The wire feeding motion should be gentle to not disturb the protective gas layer, preventing air infiltration. When entering the molten pool, avoid contact between the wire and the tungsten electrode to prevent electrode damage and tungsten inclusion in the weld. The wire end should not enter the arc column, i.e., between the molten pool and the tungsten electrode. Otherwise, under the high temperature of the arc column, the wire melts rapidly into the molten pool, causing splatter and a popping sound, destabilizing the arc. This results in internal contamination of the molten pool and a poor, dull appearance of the weld. Incorporating the wire into the molten pool can be divided into five steps:
A. With the torch perpendicular to the workpiece, ignite the arc to form a molten pool. When the pool is heated by the arc to a bright, flowing state, prepare to feed the wire.
B. Move the torch slightly backward and tilt it 10°-15°.
C. Feed the wire end into the molten pool's inner edge, about a third of the way into the pool, letting the pool's heat melt the wire without stirring the pool like in gas welding (perform B and C simultaneously).
D. Retract the wire without leaving the protection zone, keeping it close to but not touching the molten pool, ready to feed again.
Advance the torch to the front of the molten pool to form a new pool. (Repeat steps C, D, and E until the welding is complete.)
Wire feeding can be categorized into three types: external feeding, internal feeding, and the follow-the-wire method.
External Feeding: Suitable for root pass and filling, this method employs a larger current with the wire tip positioned directly at the groove's face. The welder holds the wire with the left hand and continuously feeds it into the molten pool. The gap between the groove edges should be minimal or nonexistent.
Advantages: The high current and small gap increase production efficiency and make the operation skills easy to master.
Disadvantages: When used for root passes, the inability to see the melting of the bevel and the backside reinforcement can lead to lack of fusion and suboptimal backside formation.
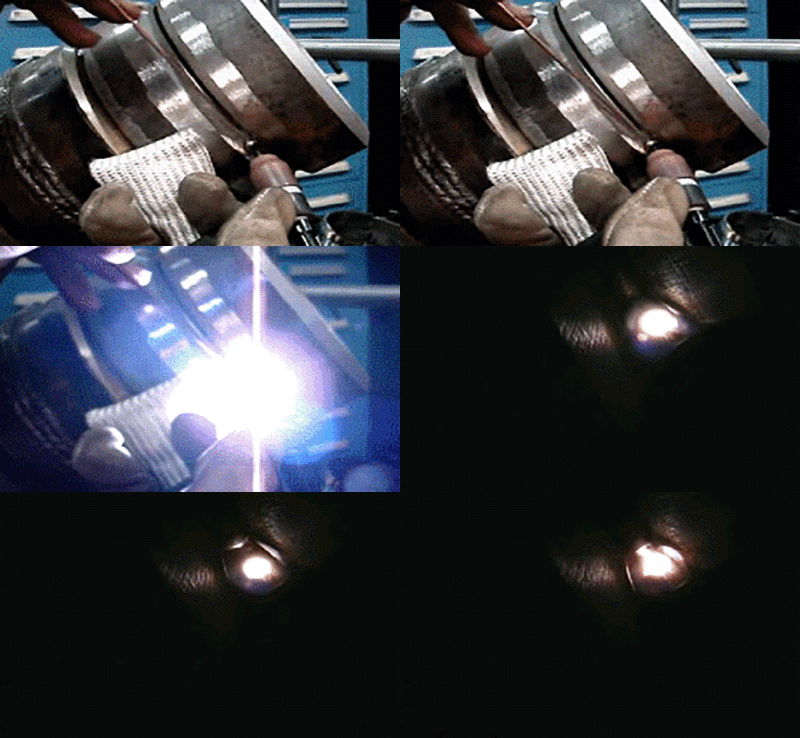
Internal Feeding: Used exclusively for root passes, this method involves using the thumb, index finger, or middle finger of the left hand to feed the wire, with the ring and little fingers controlling direction. The wire closely follows the inside edge of the bevel, melting together with the bevel edge during welding. The gap should be larger than the wire diameter, and for plate materials, the wire can be bent into an arc shape.
Advantages: Since the wire is on the reverse side of the bevel, it allows for a clear view of the bevel edge and wire melting process. Peripheral vision also allows monitoring of the backside reinforcement, ensuring good fusion and control over backside reinforcement and lack of fusion.
Disadvantages: The method is challenging and requires skilled welders due to the larger gap, resulting in increased welding volume. The larger gap also means a lower current, reducing work efficiency compared to external feeding.
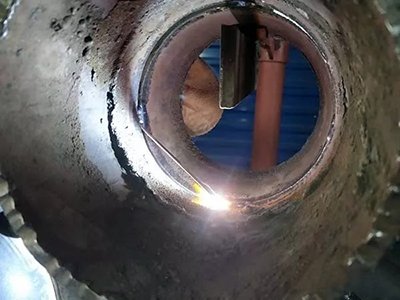
Proper arc termination involves accelerating the arc movement (reducing the molten pool size) before ceasing, preventing crater and porosity formation and creating conditions for continued welding.
8. Terminating the Arc
Terminating the arc, also known as extinguishing the arc, is an essential technique to conclude welding. It demands careful attention due to its critical nature. Improper arc termination can easily lead to defects such as crater cracks and porosity. Common methods for terminating the arc include:
A. Current Decay Method: Utilizing a decay device to gradually reduce the welding current, thereby causing the molten pool to shrink until the base material ceases to melt, aims to achieve a crater-free termination. Standard GTAW machines are equipped with a decay device.
B. Increasing Weld Speed Method: At the end of the welding process, the speed of moving the torch forward is gradually increased, and the rate of filler wire feeding is decreased until the base material no longer melts. The key is to gradually reduce the heat input, overlapping the weld bead by 20-30mm. This method is most suitable for circumferential welds, avoiding craters and porosity.
C. Multiple Extinguishing Method: As the process concludes, slow down the welding speed, increase the trailing angle of the torch, and extend the arc to concentrate the heat mainly on the filler wire, thereby increasing the filler wire feed to fill the crater and elevate the weld bead. Immediately reigniting the arc after extinguishing it, repeating this two or three times, facilitates continuous supply of filler wire to the solidifying molten pool, allowing gradual cooling at the termination point. However, after multiple extinguishments, the termination point often appears raised and requires smoothing out.
D. Use of a Backing Plate Method: Commonly, a backing plate is used for butt welding of flat plates, which is removed and smoothed after welding. Practical operations have shown that using the current decay method with a decay device provides the best arc termination. Without a decay device, the increasing weld speed method is preferred to avoid crater and porosity formation. After extinguishing the arc, the torch should not be moved away immediately but remain at the termination point for 2-5 minutes, using trailing gas to protect the high-temperature termination area from oxidation.